

This is a fairly easy recipe that makes *good* pickles, especially if you use plenty of good spices. Don’t be afraid to experiment! The quantity of spice is daunting, but it’s worthwhile to make a batch of this and have it hanging around in fridge or freezer. These pickled veg (etc.) make good snacks and nibbles, or side dishes for a feast.
*
Gallon Recipe for Pickling broth – This does not make quite a full gallon and amounts are not exact (not for someone who is OCD, anyway). You can boil some more vinegar to top it up or just leave it. (You can do two 1/2 recipes if you don’t have a big enough pot.)
- 6 cup water
- 5 cup cider vinegar
- 2 cup sugar
- ½-1 cup salt (depends on taste)
- 2 garlic bulbs
- 1/3 cup dill (may be changed for other spices/herbs, see note)
- 1/3 cup celery seed (may be changed for other spices/herbs, see note)
- 1/3 cup caraway seed (may be changed for other spices/herbs, see note)
- 2 lg onions
- Heavy glass or enamel pot that will hold at least 1 gallon
- Gallon Container (I use a heavy plastic juice container with the screw-on lid)
- Peel the garlics.
- Add everything but the onion in the ingredients list to the pot.
- Bring to a boil, stirring until the sugar and salt dissolve.
- Turn to “simmer” until the garlics start to soften.
- Stir well and let cool for a few minutes.
- Peel, stem and root the onions.
- Cut in ½, then slice across the grain.
- Put into the gallon container. (You can feed ½ ring at a time.)
- Add fresh spices (if using)
- Pour broth into gallon container.
- Repeat with other ½ of ingredients, if necessary.
- Cool in fridge.
- Store in frig, ready to use next day, keeps several weeks.
Note on spices/herbs – You can try anything in your spice cupboard, canvas your garden, raid the fresh herb section at the grocery, or just buy a box of “pickling spices”. Two of the three amounts should be seeds or hard things like barks. Any fresh herbs should be added in step 9.


Making pickles with this broth
- Wash and peel your vegetables (if necessary, see note)
- Cut to a consistent size (if necessary, see note)
- Put into an appropriately sized bottle (see below on “containers”)
- Pour in broth.
- Put a “cap” on (I usually use onion) to keep the veg below the level of the liquid, and add broth right up to the rim.
- When you put on the lid it should run over a bit.
Washing veg – All vegetables, whether from garden, store or farmer’s market need to be washed before pickling. You never know what’s on the foods! You don’t want pesticides, the wax that they use to make veg look pretty in the grocery, or even an errant sneeze in there. Use a veg brush and hot water. The only exception is when you’re pickling something like pre-cooked beans, but they still need to be dropped into a strainer and run under water to get the canning juices off. Some veg (brussels sprouts) need to lose their outer leaves before washing.
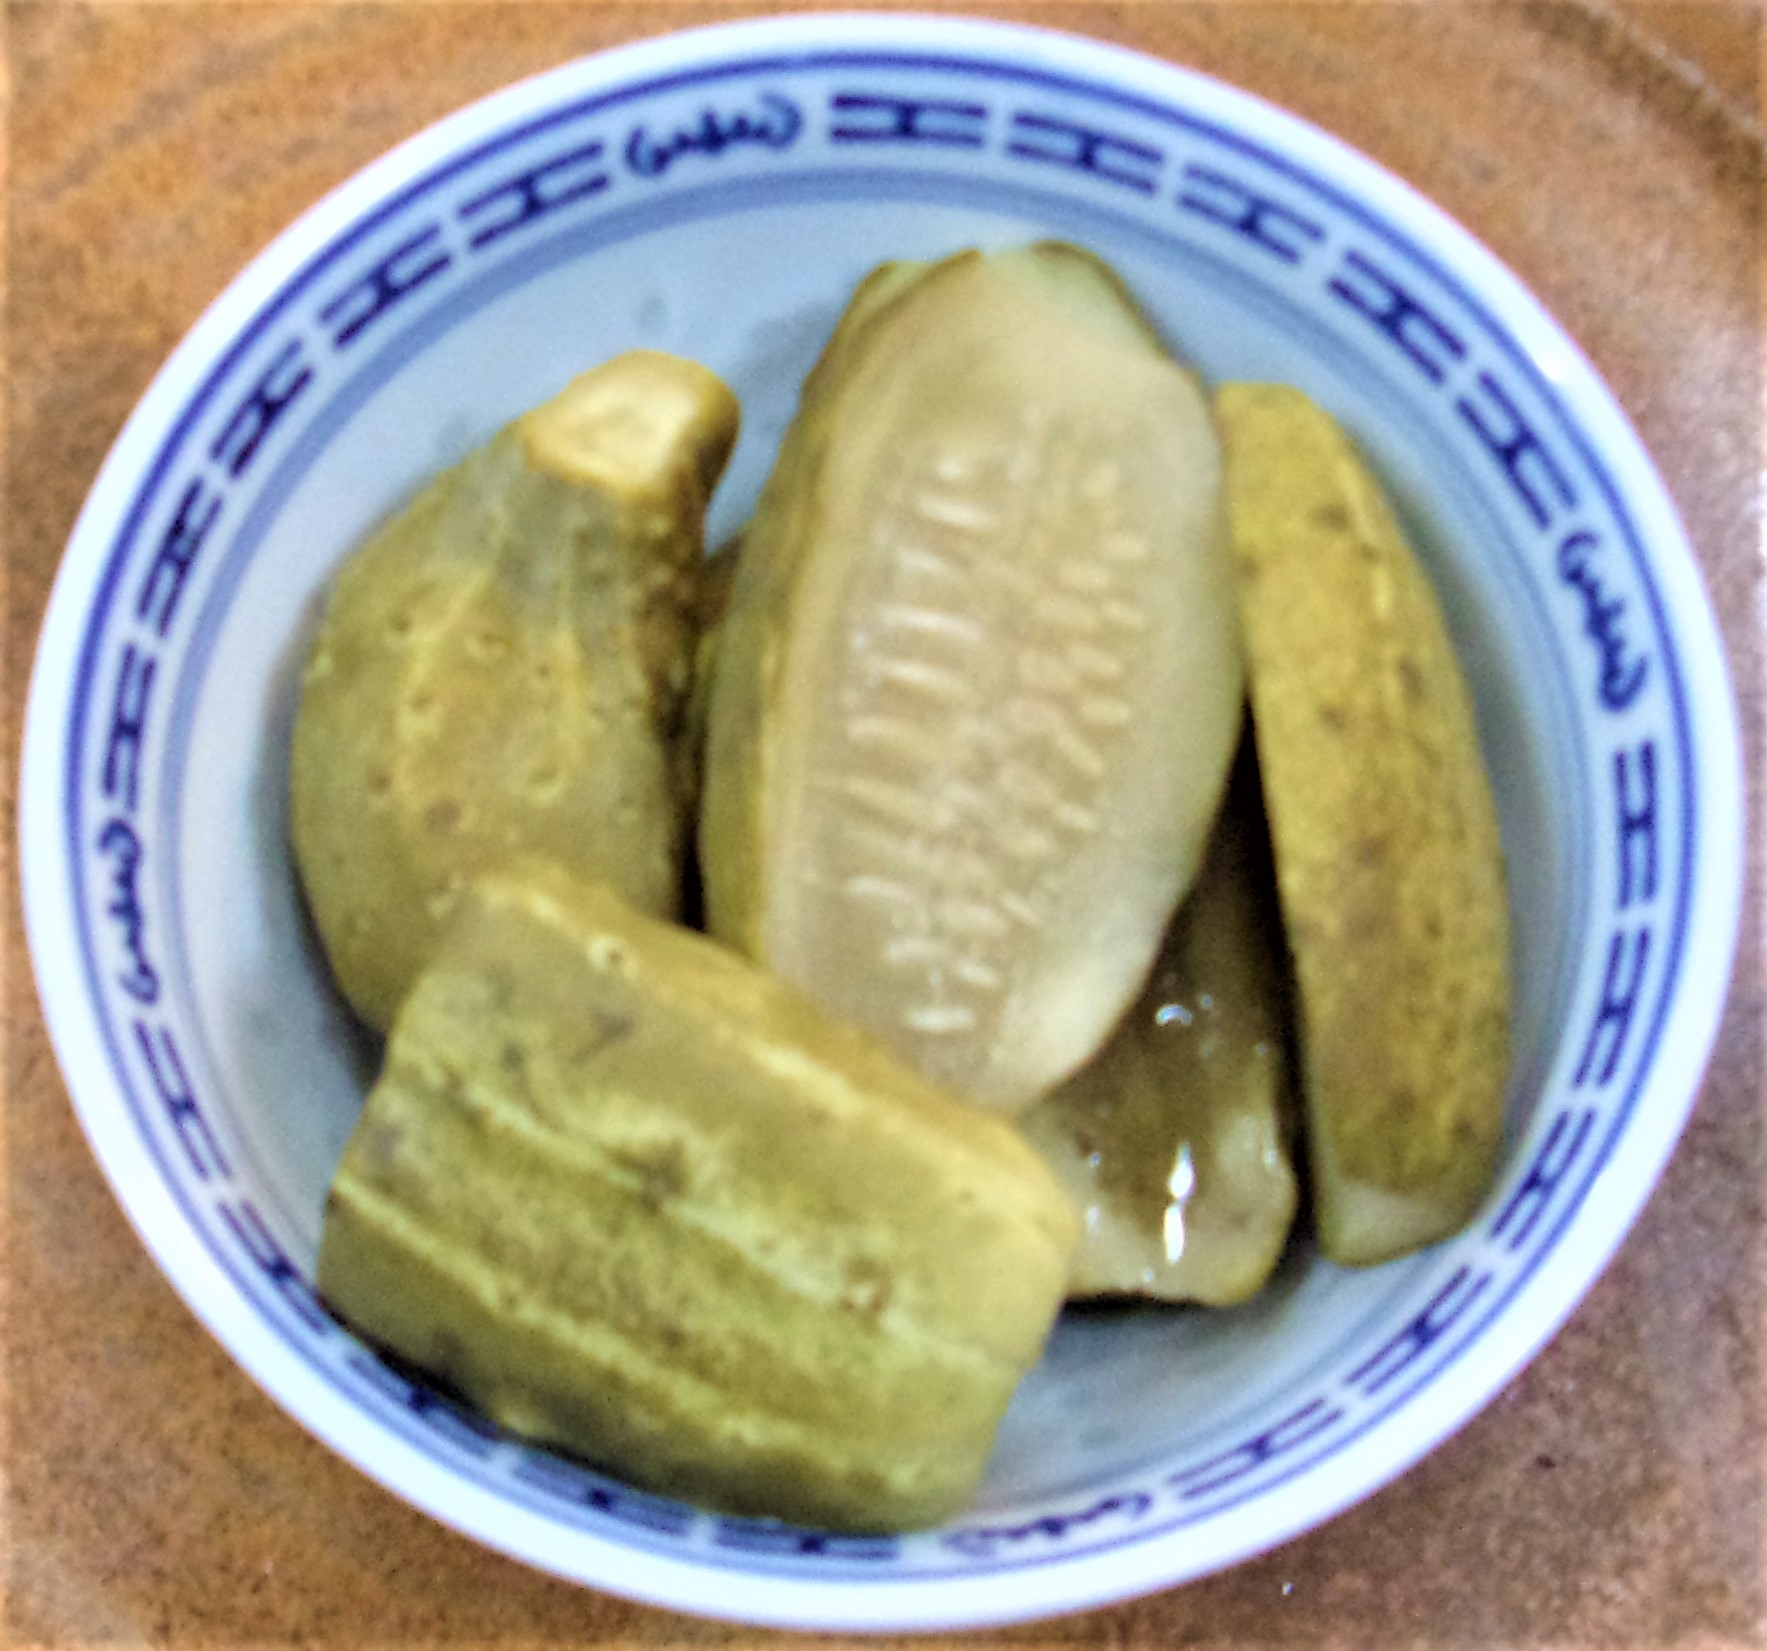
Size of vegetable – The rule of thumb here is that the larger it is, the longer it takes to sop up the salt/vinegar, and the harder it is to eat. Something the size of cucumbers (which are fairly soft) can be pickled whole (if under 1″ diameter), although you can see in the first pic in this section, I even cut those in 1/2. Carrots and other hard vegetables are best at about the same diameter as green beans. Cabbage and things of that sort should be shredded. (…and carrot “slaw” makes a great sandwich add when pickled!) Brussels sprouts are usually pickled whole. Green beans can be pickled whole minus the stem end and pointy tip (do these with fresh dill!) etc. etc. (I may add some more here….)
Bottle Size – Use the smallest bottle possible if you’re doing these for personal use. You want to use an open bottle-full within 6 weeks to 2 months…. I cup jars are great, or pints. … If you’re making a batch for a feast, figure 1 cup is 6-16 servings.
Storing pickling broth
You can store it at room temperature for several months and have it still be useable, but you’re courting food poisoning… you can can it, or freeze it… but I generally store my jug in the back of the fridge. If it’s been sitting awhile, always pour a small amount into a plate or cup and smell it. If it’s gone strange, or you see mold on top of the floating stuff in the bottle, chuck it, and sterilize the bottle (only glass ones), if you’re going to re-use.
Storing pickles
Use the bottom shelf or back of the fridge, unless you have a basement or shed like my grandfolks (see personal history) that stays below 55F. We have a small “dorm fridge” that has un-opened pickles in it. Unless you’re a real fan of canning, don’t bother with this process. Fridge pickles are usually crisper than home-canned.
Freezing pickling broth
Freeze broth in small amounts with at least an inch of head-space. I usually use plastic (Gladware(TM) to keep down the possibility of breakage. We used to sterilize mayo jars for this but they tend to warp in the dishwasher. Please put two layers between the broth and the inside of the freezer. i.e. put the cups in a ziploc or Tupperware box. This keeps odd scents in a freezer from contaminating the broth.
When you go to use it, you can zap in the microwave until it comes loose from the container. I have a wide-mouth funnel that I set the ice-block in once it’s small enough and I put a small plastic over over the funnel until it’s melted into the jar. Alternatively, once it comes loose put it into a nuker-safe bowl or cup and zap one minute at a time until hot and then pour over your pickles.
Appropriate containers for broth and pickles
- Please always use containers that can be sterilized! The salt/acid content of the broth is usually enough to keep icky things at bay, but it’s better to be safe! You *can* use Campden tablets to sterilize things that aren’t heat-proof, but I don’t necessarily recommend that.
- I use a gallon plastic juice container for my broth and run in the dishwasher between uses. I’m hunting a glass container that will fit in the fridge, so that I’m following my own advice!
- I *really* prefer glass for pickles. Wide-mouth canning jars with plastic lids are my go-to, but I also have a couple of “Pick-a-Deli(TM)” containers from Tupperware(TM) that work very well. I occasionally use a Tupperware “Modulate Mate Square Two(TM)” for pickled eggs, but I’m starting to do more of those in canning jars, too.
- Regular pickle jars that you recycle also work, but sometimes the lids hang onto flavors and can make your pickles smell odd. Please only use those to store things in the fridge.
- If you are recycling canning jar seals. Again, fridge only!
- Always check recycled lids, rings and seals for rust an things that are stuck to the inside.
- For freezing broth, I use 1 cup plastic Gladware(TM) cups and store them in a large Tupperware (TM) box.
Variations on these pickles
Variety pickles – made with above broth
- Asparagus with onion/garlic plus caraway
- Beans (multiple canned/cooked with garlic/onion) celery seed
- Carrots
- French Bean (green)
- Onions
- Multi veg pickle
- Cucumbers
Wash & prep vegetable. Put into container. Pour broth over. Fridge 2 days before eating
Dilly Beans
- fresh green beans
- Pint jar
- Pickle broth
- 1 Tbsp dill seed
Method
- Wash your green beans.
- Take the straightest ones and cut to fit the jar, at least cutting the ends off the bean.
- Pack tightly into the jar.
- Add dill seed to the tops of the beans
- Take previously made, cold, pickling broth and pour over packed beans.
- Screw jar lid down, but not tightly.
- Refrigerate, at least overnight, screwing the lid down tightly about 12 hours after putting the jar into the fridge.
- Eat within a week.
Pickled Cabbage
- medium head of cabbage (or 2 pkg deli slaw mix)
- 2 onion
- 4 Ball jars
- 8 cups vinegar
- 4 cups water
- 1 cup salt
- 1 ½ cup sugar
- Caraway, Black Mustard Seed, Celery seed, Allspice, Clove (jars), Ginger (jars)
- Shred Cabbage.
- Put about a 1” layer into your jar and pound on it to pack it down.
- Add a thin slice of onion.
- Repeat until that jar is full, then do the rest.
- Add 5 whole cloves, 2 whole allspice and a good slice of ginger to the top of each jar.
- Put the vinegar and the rest into a large pot and bring to a boil.
- Pour over the cabbage and lay the lid on loosely.
- Let sit for half an hour.
- Bang the jars on the table to get the bubbles out and then fill right to the brim with the broth, so that when the lids were screwed down they run over a touch. You’re trying to exclude as much air as possible.
- Again, lay the lids on loosely and when cool, screw them down, then put the pickles in the fridge.
- Wait at least 3 days before serving.
Funges pikl’d – makes 8 servings (SCA recipe from ‘70’s)
Ingredients
- 1 onion, thinly sliced
- 1 cup red wine vinegar
- 1 cup water
- 3 tablespoon brown sugar
- 3 tablespoon mustard powder
- 1 Tbsp mustard seed
- 1 ½ tbsp. salt
- 24 oz ounce) cans whole mushrooms, drained
- 2 slices fresh ginger
Directions
- Bring onion, vinegar, oil, sugar, and Dijon mustard to a boil in a saucepan.
- Add mushrooms and simmer until liquid is slightly reduced, 5 to 6 minutes.
- Transfer mixture to a covered container and chill. (It overflows a quart canning jar….) Add ginger slices at the 1/3 and 2/3 marks….
- Drain before serving.
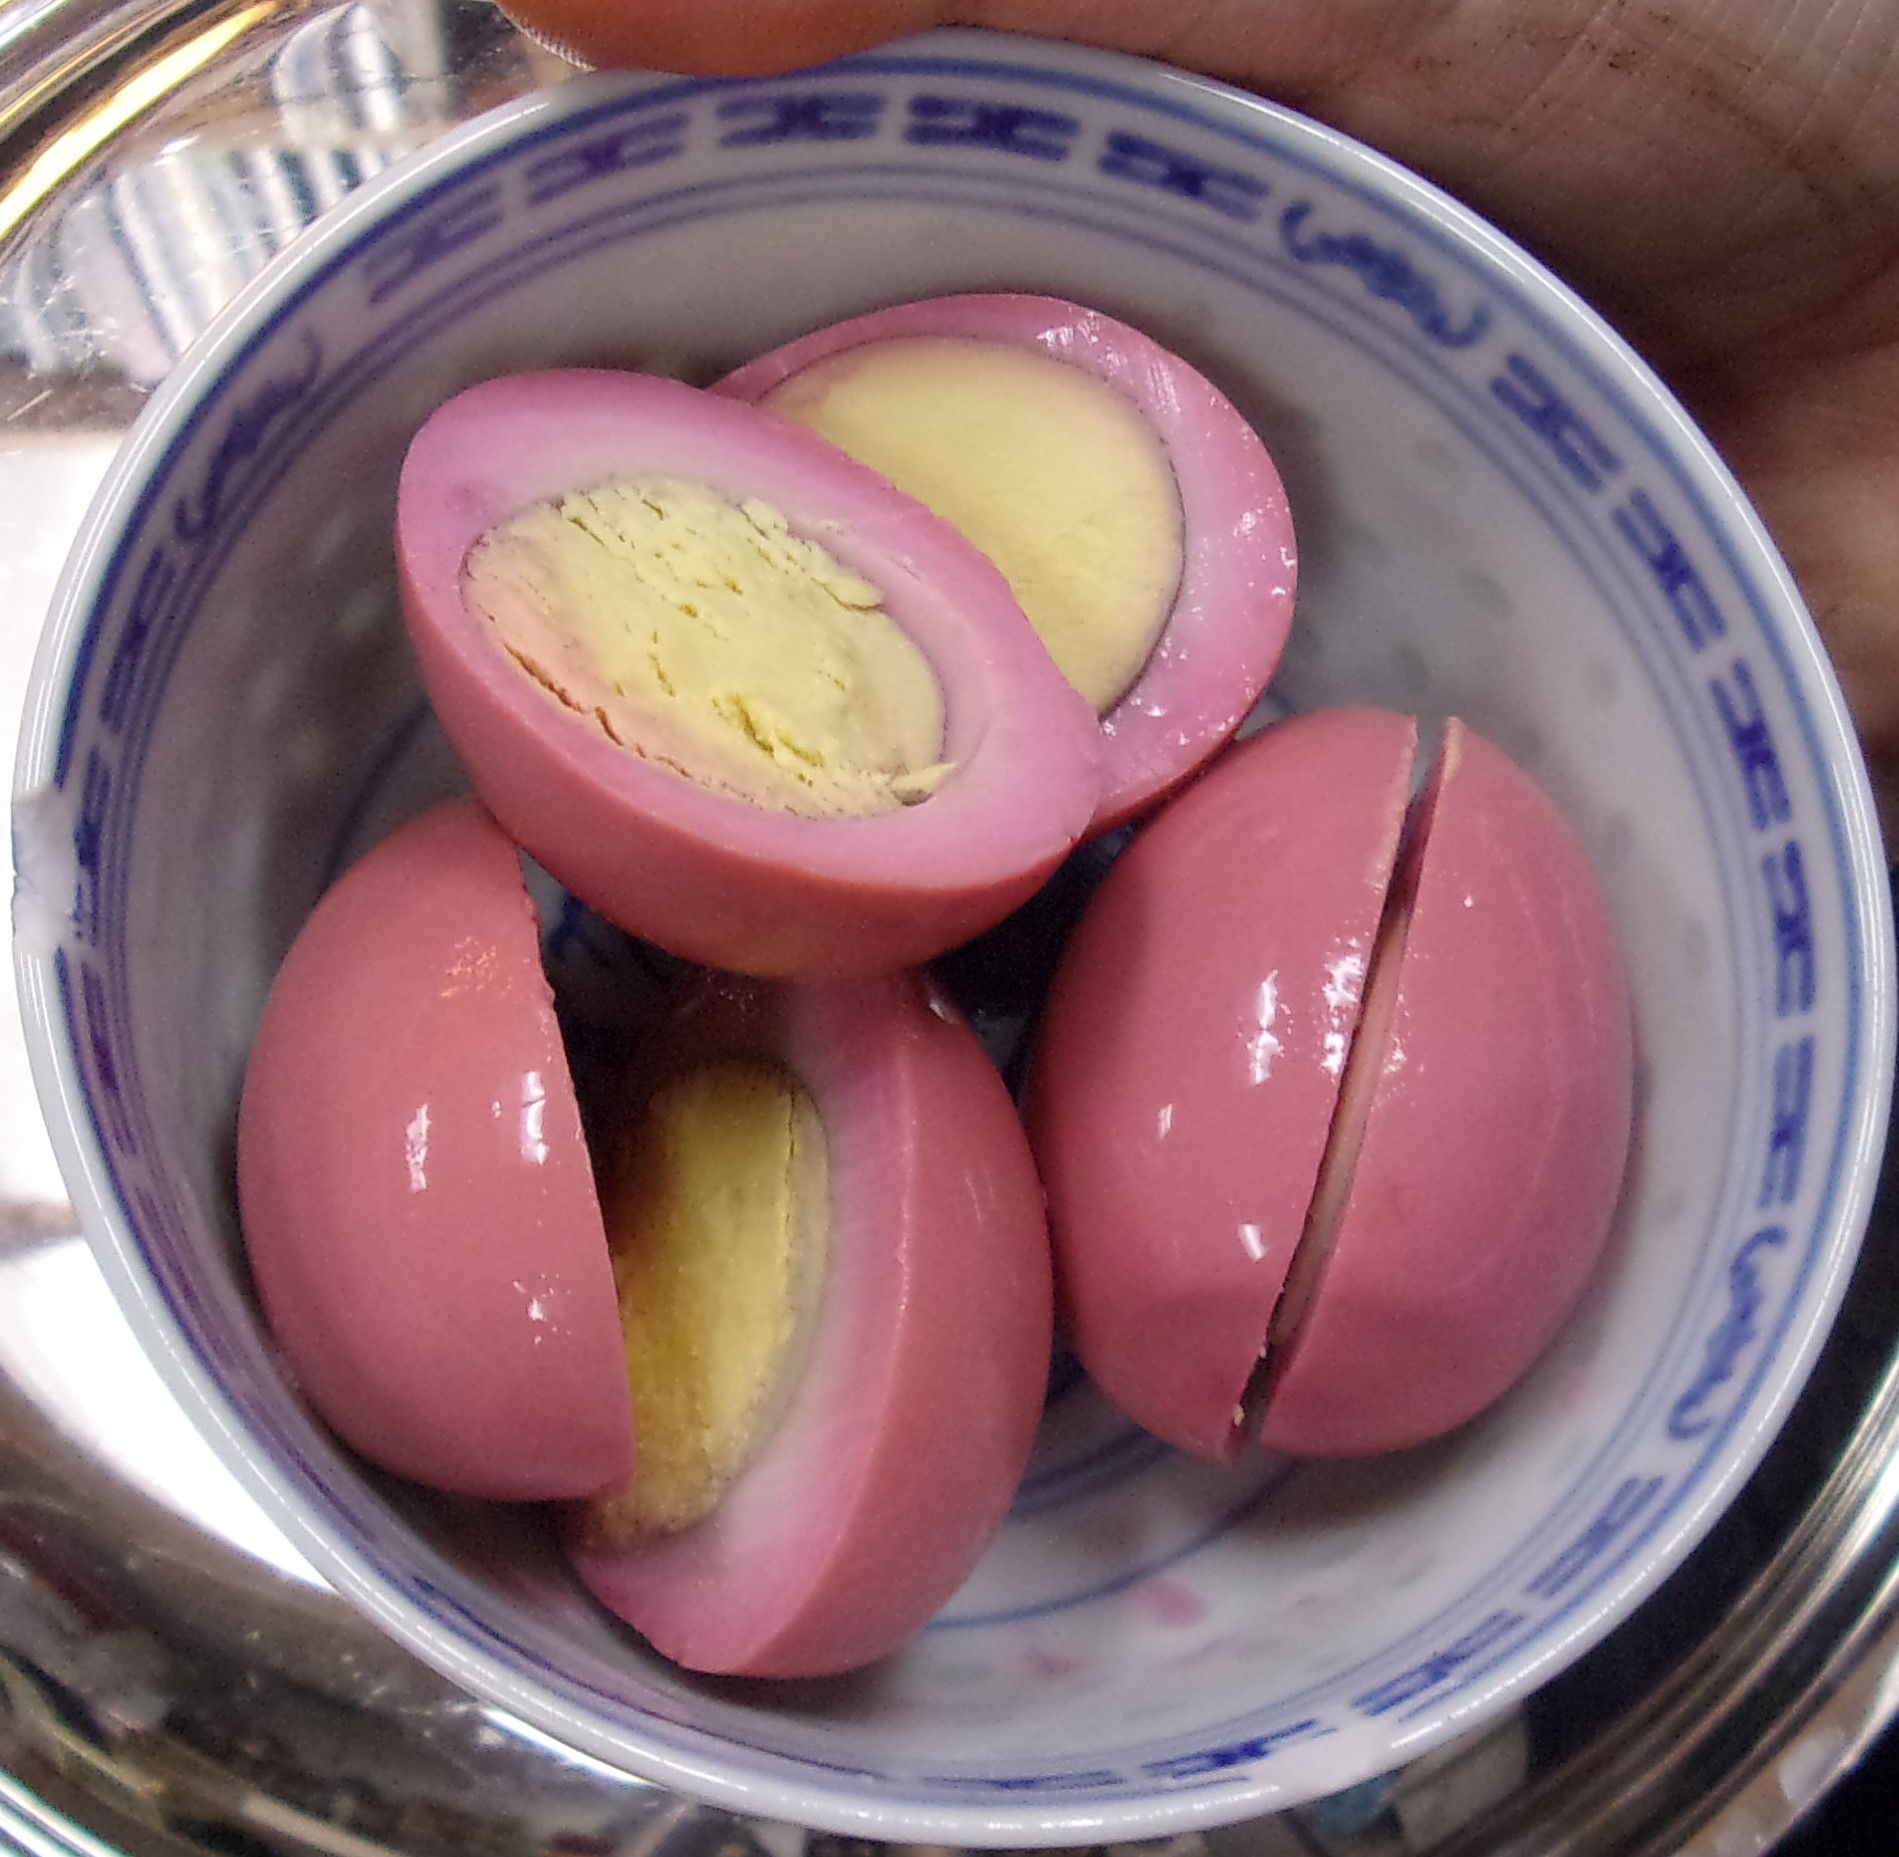
Pickled eggs with beets & onion for 50 (feast servings, ½ egg per) Canned Beet Method
Ingredients
- Pickle broth
- 2 Dozen Fresh eggs
- 4 white or yellow medium onions
- 2 Dozen cloves garlic
- 2 Cans pickled beets
- Caraway seed or fresh fennel (one or the other!)
- 2 or 3 quart jars.
Method
- Slice onions and sliver or press garlic.
- Add to pickle broth with the sugar and simmer until cooked, stirring until the sugar dissolves.
- Strain solids. Reserve liquid. Let stand until cool. (overnight in fridge)
- Hard-boil eggs, shell and cool overnight.
- Use two single quart containers and put a dozen eggs in each one. (YMMV, that’s why you should have 3 jars.
- Sprinkle well with caraway or chopped fresh fennel
- Put ½ the onion/garlic solids in each
- Tuck the beets into the jars.
- Add enough of the pickle broth to cover and let stand overnight. Taste the broth and add more spices to taste. Keep in the fridge.
- Shake each day for 3 days, then eat. These should be eaten within two weeks.
Note – If you like it hot add a touch of prepared horseradish to each container. 1/8 teaspoon each. Don’t add more unless it’s still “too tame” 24 hours later!
Pickled onions
Ingredients
- Pearl Onions 8 oz plus 2 lb boiling onions
- 5 cups cider vinger one cup balsamic
- Sat 1/2 cup
- 2 teaspoons prepared horseradish
- 2 Tbsp ground clove
- 1.5 inch sliced fresh ginger
- 1 Tbsp whole allspice
- 4 bayleaf
- Water
Method
- Peel onions
- Put the bayleaf in your jar ( 1 in small jar 3 in large)
- Divide horseradish between jars
- Add ginger
- Add onions
- Heat Malt vinegar with the salt, allspice clove
- Pour over onions.
- Add boiling water to top off.
Another variation on pickled onions – Using red onions, canned beet juice or the water from boiled beet mixed 1/2 and 1/2 with pickling broth, treat these as in the “Making Pickles” instructions above.
Pickled sausage – Utopenci – inspired by http://www.czechcookbook.com/pickled-sausage-recipe-utopenci/ – By czechcookbook On June 19, 2014
- Total time: 40 min.
- Resting in the fridge:
- With hot liquid 3 days.
- With cold liquid 7 – 14 days.
- Holds for 60 days if constantly refrigerated (after that, dump it!)
Ingredients:
- 3 cups water
- 1 cup white vinegar
- ½ cup balsamic vinegar
- 1/2 tsp sugar
- 1/2 tsp salt
- 1/2 tsp whole peppercorns
- 1/2 tsp whole all spice
- 4 bay leaves
- 2 polish klbasa (13 oz each)
- 2 Tbsp prepared horseradish (not creamed….)
- 1 onion
- mustard of your choice
- 2 quart size wide mouth mason jars
Method:
Peak flavor is 5 days to 2 weeks.
- Cook pickle broth with spices. (1st 6 ingredients)
- Keep broth warm while you prep the rest.
- Cut each sausage in 1 inch pieces.
- Peel if needed.
- Split, part-way through.
- Put mustard in the split.
- Slice onion.
- Put a piece in each spit bit.
- Put 1 Tbsp of horseradish in each jar.
- Put onion slice in the bottom of the jar.
- 2 prepped sausage pieces, then more onion.
- Repeat.
- Repeat.
- Top with onion.
- Tuck bay leaves down the sides.
- Repeat with 2nd jar.
- Pour hot broth on top, splitting between jars.
- Put on lids, let stand ½ hour.
- Bang out bubbles and top off, if needed.
- Tighten down rings and let cool completely.
- Fridge
A little history
41. _To pickle Cucumbers._ Source: Queen’like Closet
Take the least you can get, and lay a layer of Cucumbers, and then a layer of beaten Spices, Dill, and Bay Leaves, and so do till you have filled your Pot, and let the Spices, Dill, and Bay Leaves cover them, then fill up your Pot with the best Wine Vinegar, and a little Salt, and so keep them.
Sliced Turneps also very thin, in some Vinegar, Pepper and a little Salt, do make a very good Sallad, but they will keep but six Weeks.
288. _To pickle French Beans._ Source: Queen’like Closet
Take them before they be too old, and boil them tender, then put them into a pickle made with Vinegar and Salt, and so keep them; it is a very good and pleasant Sallad.
A little personal history with fridge pickles
My grandmother, who I called “Babička” (my mother’s mother) lived with us while I was growing up. In the autumn, as the temperatures dropped, she would make big batches of pickling broth, and fill canning jars with the harvest as they came in. She would scrub, then cut, then pack jars and pour the broth on and it was my job, (once I was old enough, age 4!) to trot over to the shed, climb the two steps up, open the very creaky door and put each jar on the shelf, then go back for another.
She called these “winter pickles” rather than the canned or fermented pickles that she made during the summer. The other name is “fridge pickle”.
Each time we went from her summer home to our big house we took a batch with us. We had a large cabinet in the basement whose outer wall was right against the concrete foundation of the house and had insulated doors. That cupboard stayed cold enough to even keep pickles in the summer.
Page created and published 12/26/21 (C)M. Bartlett
Last updated 9/20/25
